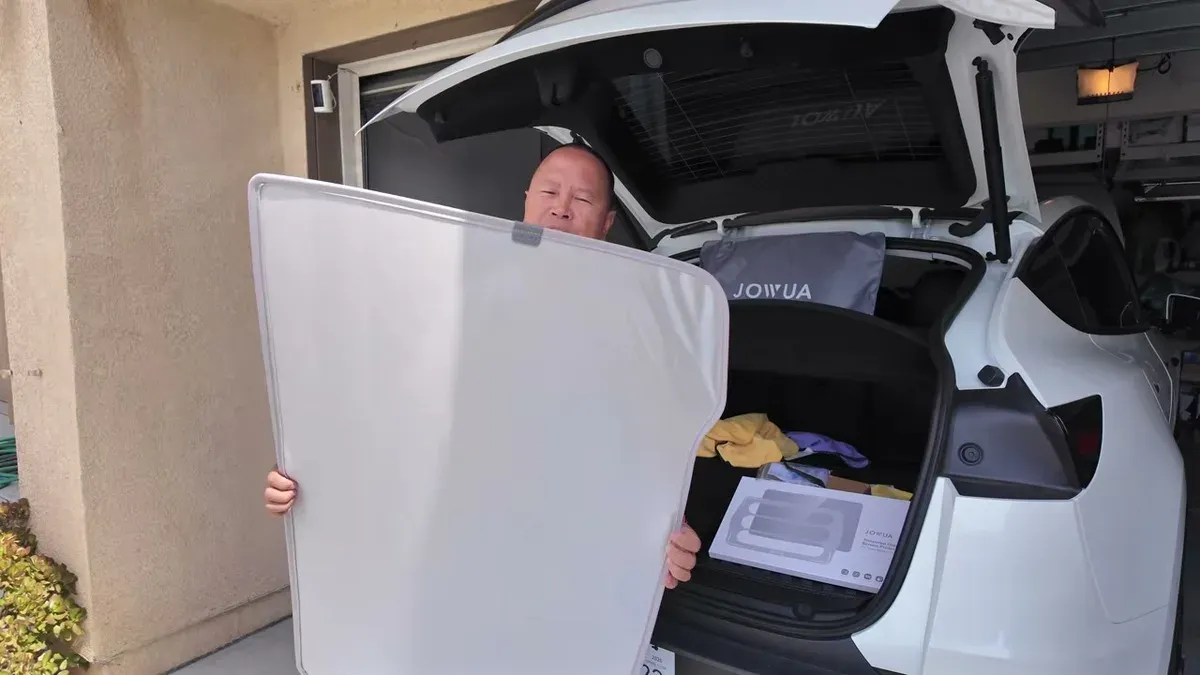
If you had a roof shade on a previous Model Y, it won’t fit the Juniper. The rear section of the Juniper’s roof is shaped differently, with a cutout that changes how the shade needs to sit. That means starting over. Jowua sent over their new Model Y Juniper glass roof sunshade and a set of tempered glass screen protectors to try out, and I’ve been running them through their paces over the last couple weeks.
What’s in the Box
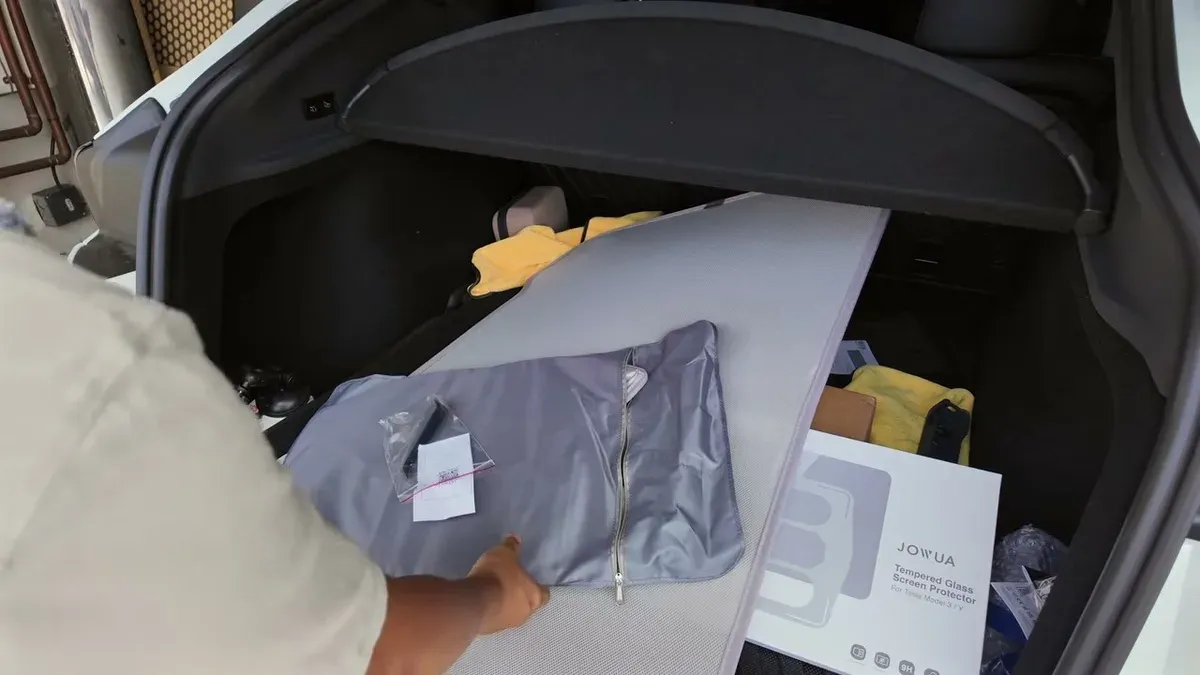
The roof shade comes in two pieces: a front section and a rear section. Both fold flat into a zippered carrying bag with the Jowua logo, which stores easily in the trunk. Installation hardware included: 12 clips and a pry tool, plus a QR code linking to their installation guide. You won’t need the pry tool for every headliner, but it’s good to have.
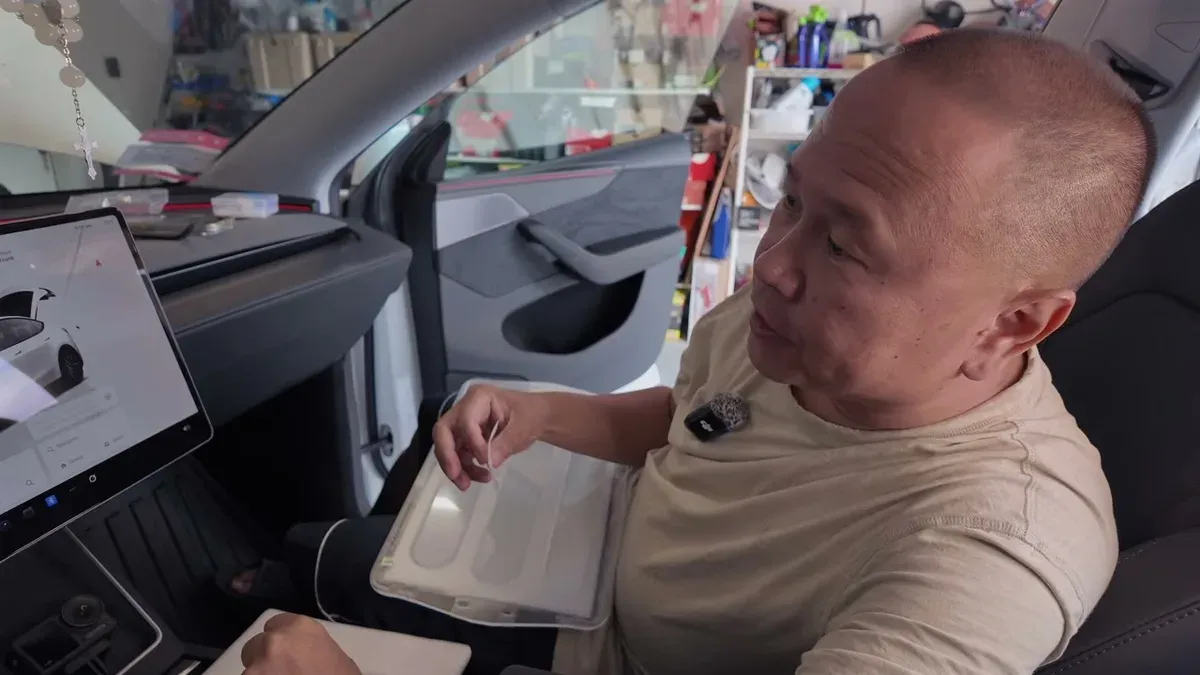
The screen protector kit includes two pieces: a 15-inch for the front display and an 8-inch for the rear. Each comes with an alignment frame that handles positioning for you, a cleaning kit with wet wipes and a microfiber cloth, and a squeegee. The packaging felt premium and the alignment tool is the real difference compared to older screen protector kits.
Roof Shade Installation
Installation was simpler than expected. For the front piece, the headliner was already loose enough to slide clips in without the pry tool. The rear piece required a bit more finesse, but the material on both sections is flexible, so fitting it to the Juniper’s shape wasn’t a fight.
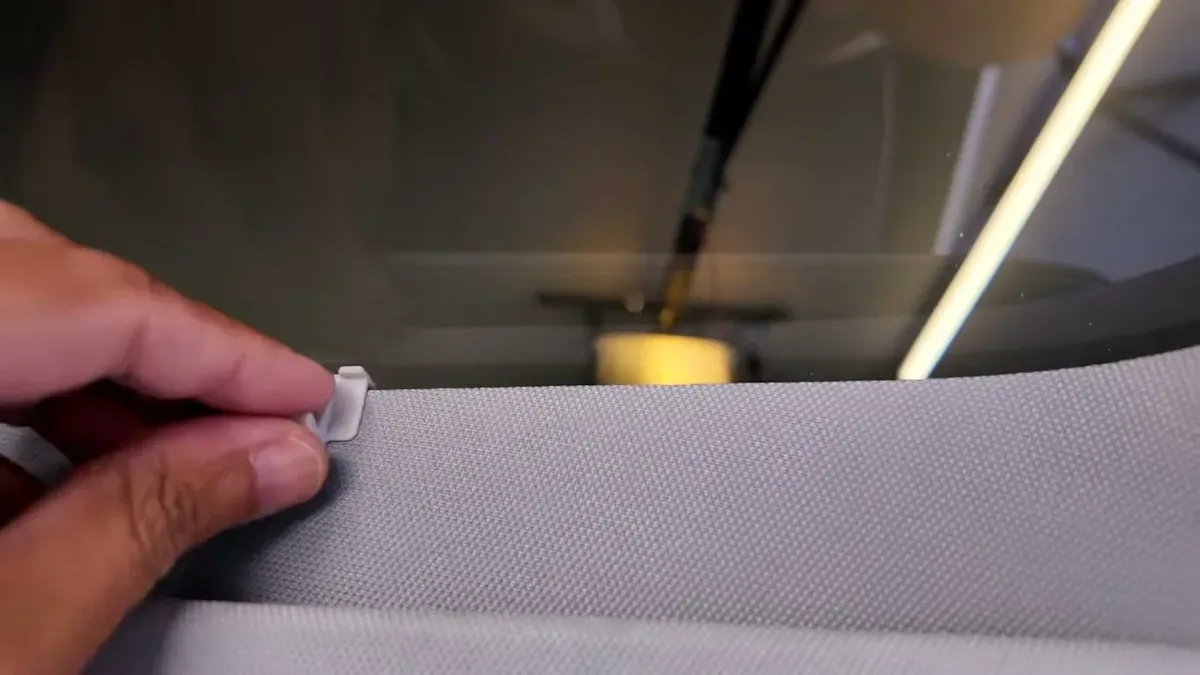
Each piece has a tab labeled “side up” so orientation is clear. I used eight of the twelve clips included. The fit across the glass felt solid. Two nitpicks: there’s a visible gap where the front and rear pieces meet, and one corner came out slightly wrinkled. Jowua’s customer service said that was unusual and offered to look into a replacement, so I’ll give them credit for the quick response.
Colorway Note: Eclipse vs. Dark Matter
I chose the Eclipse colorway because it closely matches the Model Y 5-seater headliner and I assumed lighter meant cooler. That logic doesn’t hold here. Eclipse is rated at 2.5x cooling effect; Dark Matter comes in at 3.2x. The darker option actually does a better job on heat rejection. Jowua’s website has a side-by-side comparison if you want to dig into the numbers.
The shade isn’t solid material, so it does let some diffused light through. That’s intentional. You still get a view of the sky, just filtered. Whether that’s a feature or a downside depends on what you want from a roof shade. Heat rejection is the main job and it handles that even in October when it’s still hitting the mid-80s here in SoCal. For context on how the Juniper performs in general, see my real-world efficiency breakdown.
Screen Protector Installation
I had been running the factory plastic protector for nearly two months before installing the Jowua glass. It was already peeling and showing bubbles, which is normal since the factory film is just a transit protector, not a real screen cover.
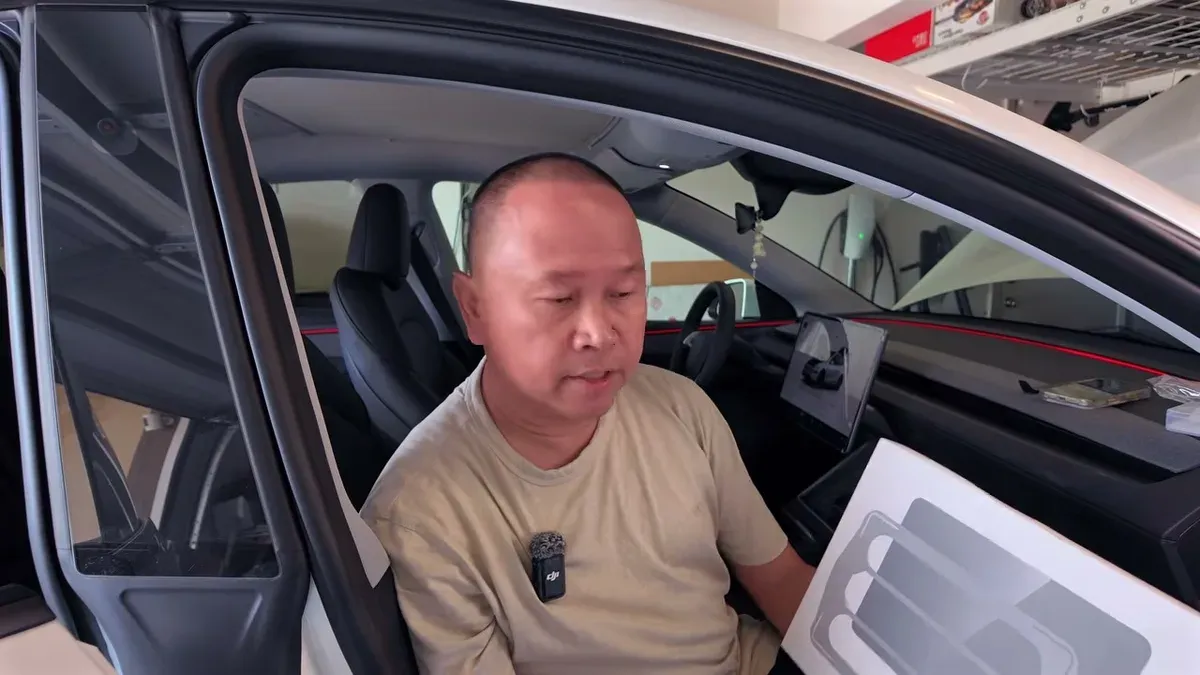
For the front screen, enable Screen Clean Mode under Menu, then Display. This gives you a clean surface and a countdown before the display reactivates. Wipe down the screen, remove the backing film from the protector, line it up with the included frame, and press it flat. Bubbles after install are normal and clear out on their own.
The rear screen doesn’t include an alignment frame, but the smaller size makes it straightforward. Lock the rear display first through the same Display menu. The surface texture on the Jowua glass felt noticeably smoother than the factory plastic once it was on.
On the Road
Initial drive test was in mixed sun thanks to October overcast in SoCal, but on the commute runs I could feel the difference. Less heat building through the roof on surface streets and highway. The Eclipse at 2.5x isn’t as aggressive as the Dark Matter would be, but it’s enough to notice.
Roof shades are one of those accessories I put on every EV I own. If you’re still working out the total cost of the Juniper, add this to the accessories line. The Juniper’s different rear geometry means you can’t reuse what you had, but the Jowua version fits well and installs without drama. The screen protectors are an equally easy upgrade if you’re still running the factory film. If you want to see full installation footage, the video walks through both step by step.
If you’re debating between Eclipse and Dark Matter, go with the Dark Matter if heat rejection is the priority. The lighter color match to the headliner is nice, but 3.2x versus 2.5x is a real difference when it’s 100 degrees outside.
Leave a comment
Comments are moderated, so it may take a bit before yours appears. Your email is never published.