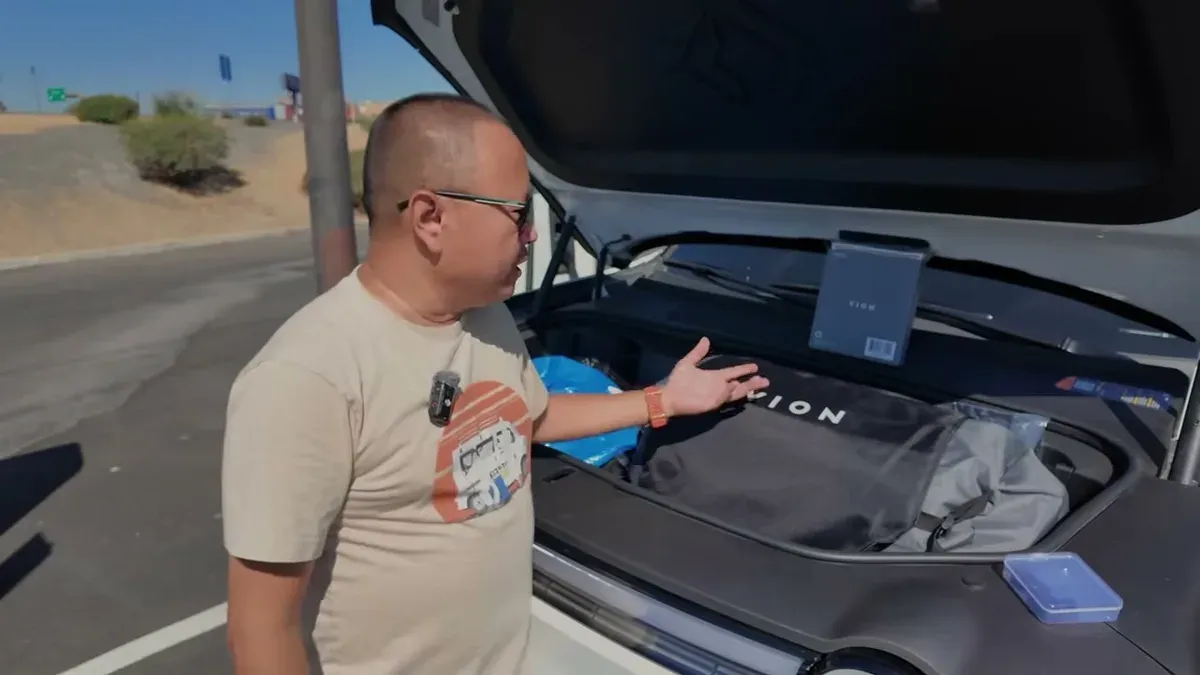
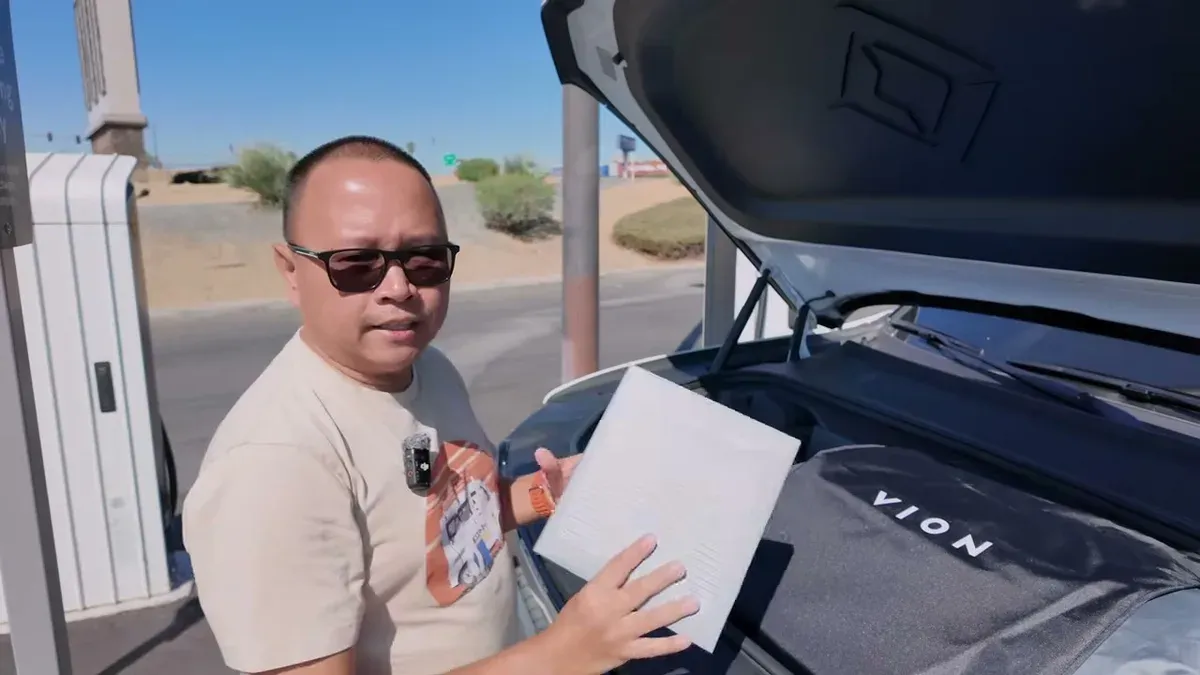
My Rivian R1S was plugged in at the Rivian Adventure Network, battery temps at 91°F, sitting at 27% SOC with about 38 minutes on the clock. Vion sent me two accessories to check out — a two-piece Rivian R1S roof shade and a cabin air filter — and I figured there was no better time to install them than right now.
The Vion Roof Shade for the Rivian R1S
The roof shade comes in two pieces — a front section and a rear section — each labeled with a tab telling you which way to face it. It also includes two clip styles: standard edge clips and center-gap clips that bridge the seam where the two panels meet. It ships with extra clips and a Vion-branded storage bag, which is a nice touch.
If you have a Gen 2 R1S with the Dynamic Glass Roof, you might wonder what the point is — the DGR already tints somewhat. But the glass still lets in a lot of light, and if you want to fully block it out, this is your option. For Gen 1 owners without DGR, it’s even more relevant.
Installing the Front Panel
The front piece clips in from inside the cabin — I installed it from the passenger seat. You clip the edge clips along the headliner first, slide the shade into position, then adjust. The clips are flexible enough to work with, but getting them to slide can be frustrating. The tab position locks one clip in place, so you’re adjusting the others around it.

Installing the Rear Panel
The rear piece installs from outside the vehicle — way more room to work with standing at the tailgate. You can reach up and clip it in cleanly without contorting yourself. Getting the two panels to meet in the middle takes a little fussing; the instruction manual says any wrinkles will relax over time, which I believe based on how the material behaves.
Here’s the real-world view — uncovered glass roof versus the shade fully installed:
The difference is immediate. The glass roof on the Gen 2 blocks some light — but it’s still bright enough that you’ll want the shade if you’re the type who runs roof covers in other EVs. I’ve kept roof shades in my Cybertruck, Model Y Juniper, and now the R1S. Once they’re in, I don’t remove them.
One note: there’s no third-row cover option, same as with the DGR. The shade covers front and second row, and that’s it. But coverage is solid across those sections.

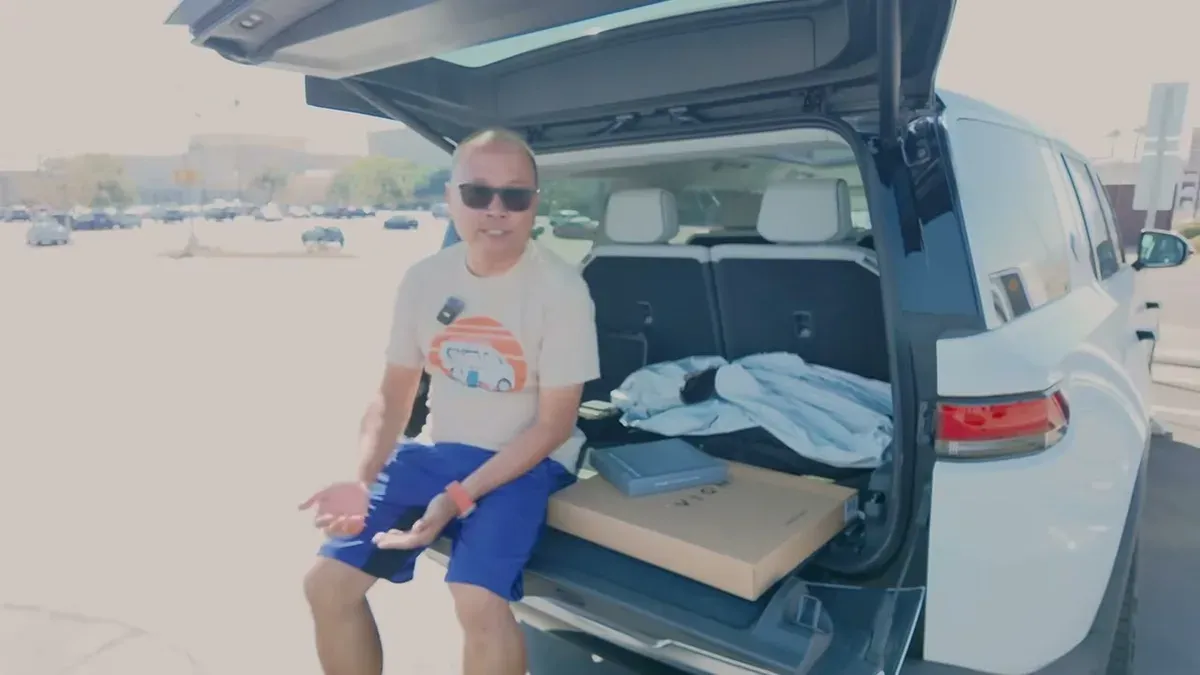
Cabin Air Filter Install (It’s Easier Than You Think)
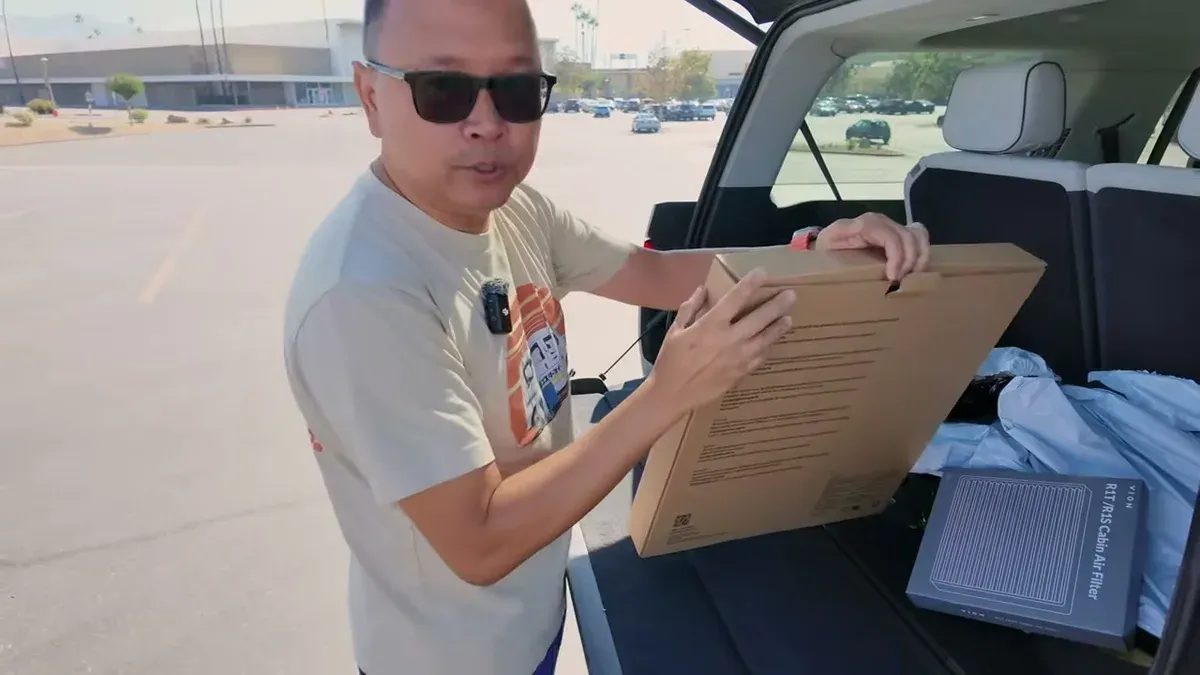
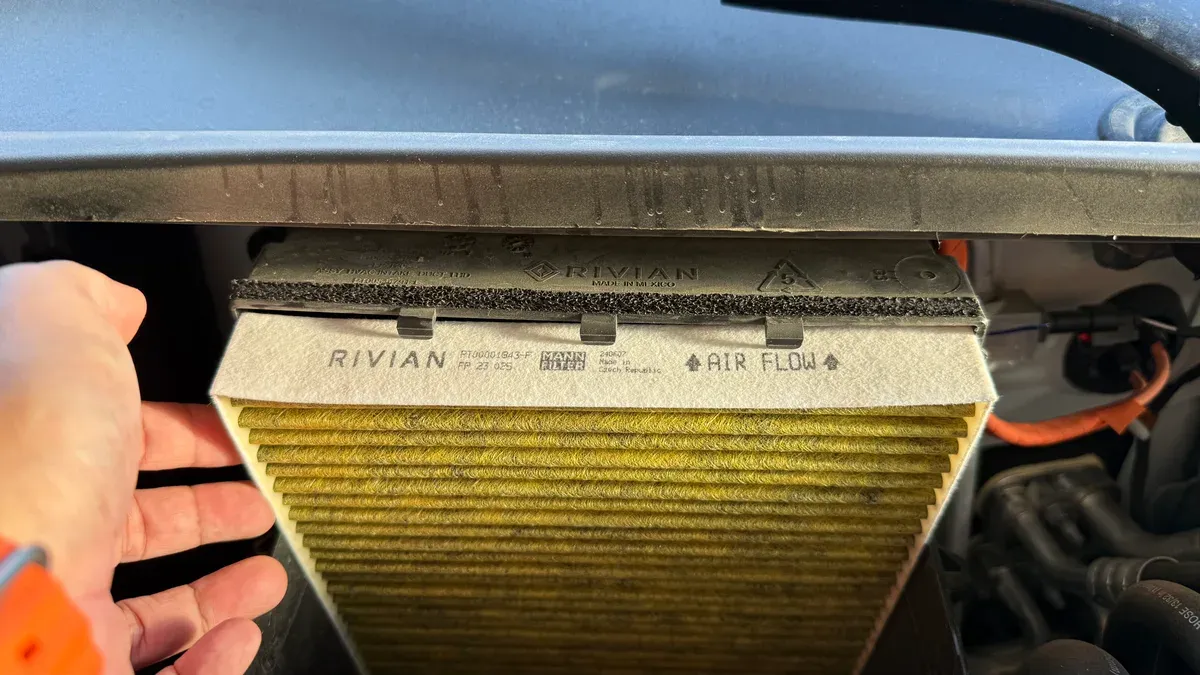
The cabin air filter lives in the frunk — under a plastic shroud held in place by clips. You lift it out gently, pop the old filter out, pop the new one in. That’s it. No tools, no special process.
For comparison: replacing the cabin air filter in a Tesla is genuinely annoying. The Model Y Juniper filter is buried and awkward to get to. The Rivian’s frunk-accessible design makes this a two-minute job.
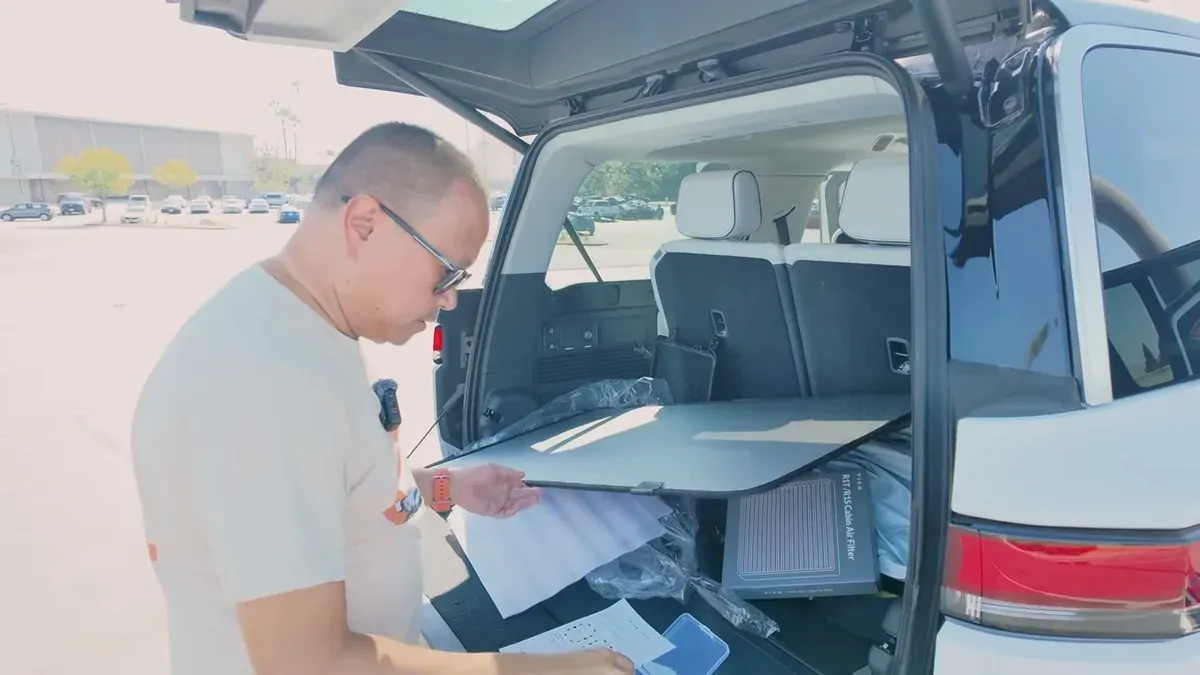
My R1S is at 2,400 miles and the existing filter was already looking like it could use a change. If you live in a dusty area, don’t wait on this.
Small problem: I’m a bit height-challenged, and the frunk on the R1S is deep. I couldn’t quite reach the filter without a step. Ended up finishing the swap at home. If you’re on the shorter side, just know you might need to lean in hard or find something to stand on.

What the Charging Session Actually Cost
I was at 27% when I started and hit 83% by the time I finished the roof shade install. The session wrapped up at 57 kW — standard speed for where I was in the charge curve.
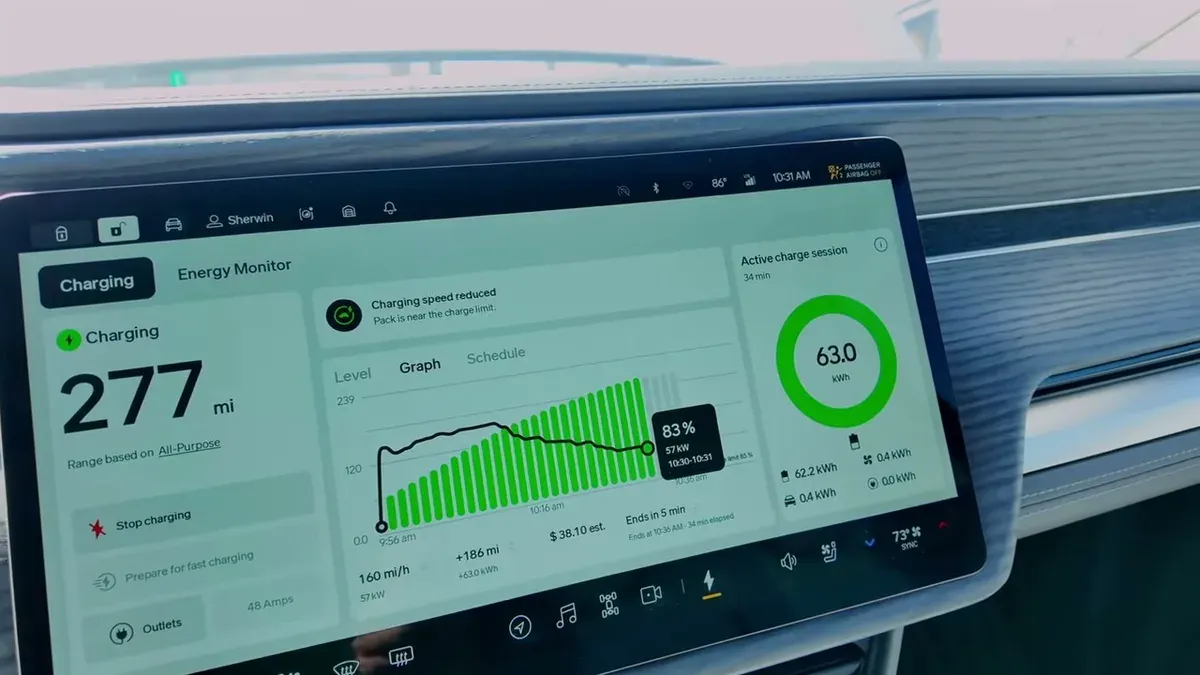
Here’s the full session breakdown:

The Rivian Adventure Network rate was $0.61/kWh, which would’ve come to $39.19 — but complimentary charging credit from a referral covered the full amount. Free session. If you’re buying a Rivian, check my referral link to see what perks are currently available.
Final Thoughts
Both accessories do what they’re supposed to. The roof shade takes some patience on the first install, but once you’ve done it, you’ll know exactly how to dial it in. I expect the wrinkles to work themselves out over time — the material is flexible and the fit is close.
The cabin air filter is legitimately the easiest swap I’ve done across my entire fleet. If you’ve been putting it off, don’t.

Worth mentioning: the roof shade is compatible with Gen 1 R1S too, so you don’t need the Dynamic Glass Roof to benefit from it. Check out Vion’s accessories if you want to see their full product lineup.
I’ve also got a post up on how the Rivian Adventure Network pricing has shifted recently — worth reading if you’re planning longer trips. And if you’re new to the R1S, I covered how I made it officially mine and what the first impressions were.
Rivian recommends replacing the cabin air filter based on conditions — their owner’s guide covers the service intervals for both R1T and R1S.
Leave a comment
Comments are moderated, so it may take a bit before yours appears. Your email is never published.