This is a sponsored video. BestEVMod provided both products.
The Juniper made one interior change that not everyone notices immediately: the trunk sill is now a felt material instead of the plastic or rubber you’d find on older Model Ys. It looks clean, but loading heavy boxes over that edge — groceries, gear, anything with a sharp corner — will start to fray it. This product exists to prevent that.
Trunk Sill Protector
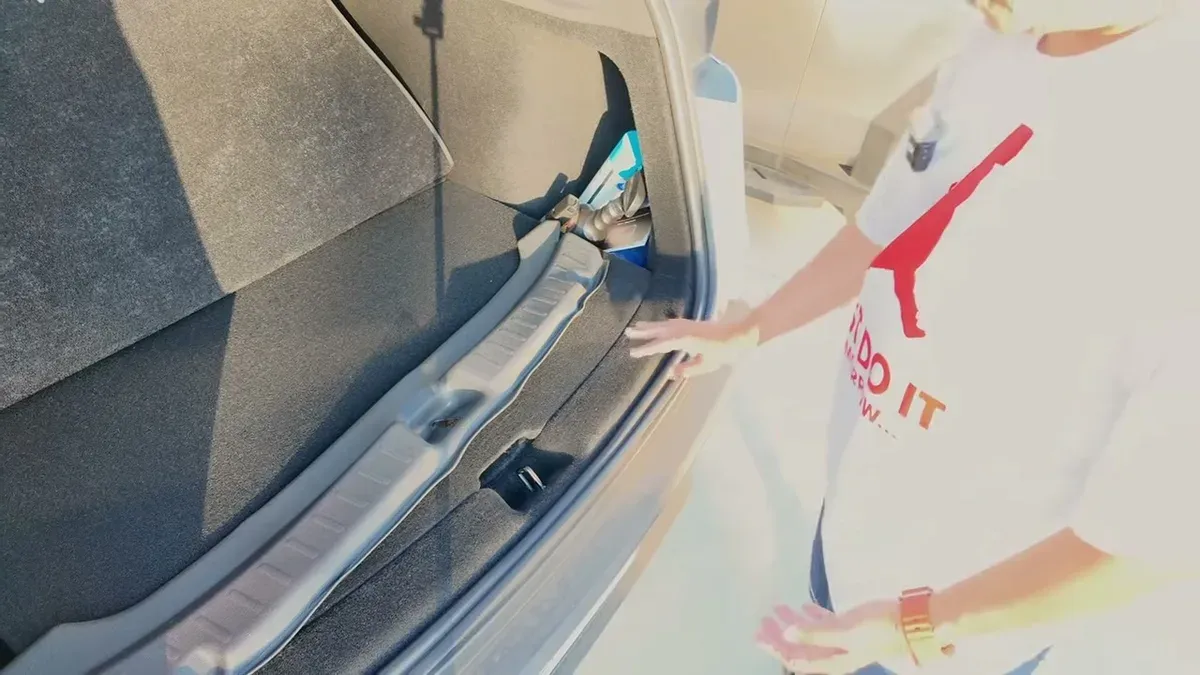
The BestEVMod trunk sill protector is laser-scanned TPE, so it’s mapped to the Juniper’s specific contour. Installation is straightforward: lift the floor panel, tuck the rubber edge underneath, and drop the panel back down. The mat stays put without adhesive.
New TPE can bow slightly out of the box since it hasn’t conformed to anything yet. A short session in the sun flattens it out. Once the panel is closed over the edge, everything sits flush. It doesn’t cause the floor to bubble up or impede access to the sub-trunk. Fitment is solid.
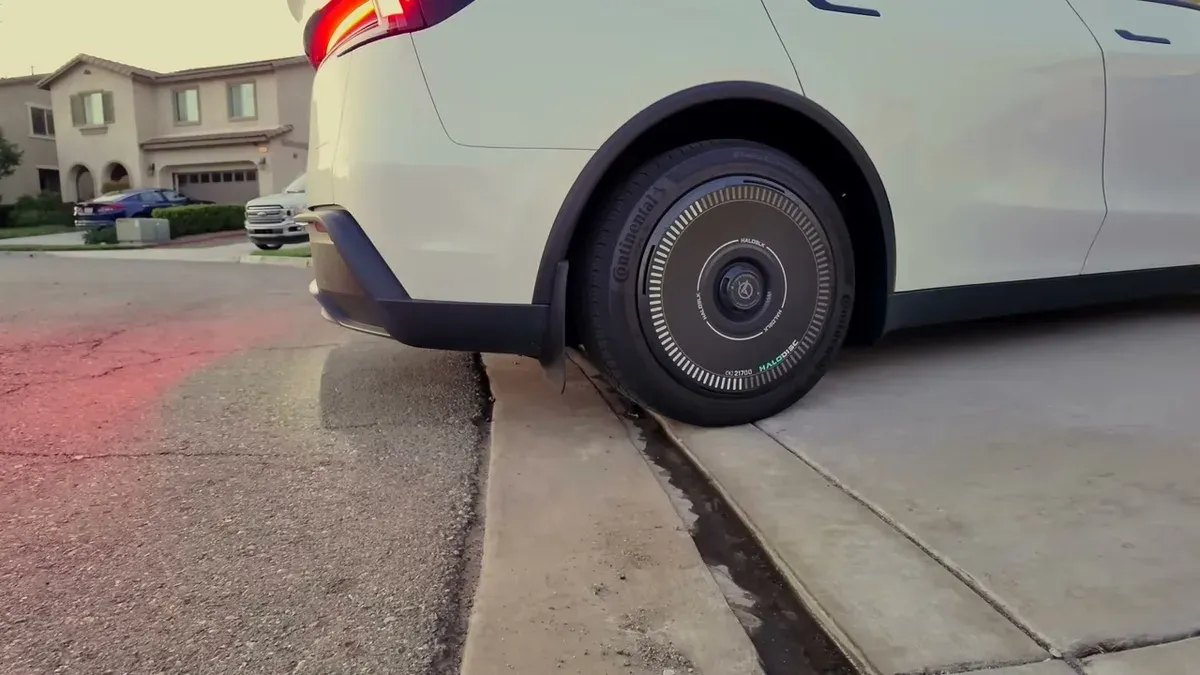
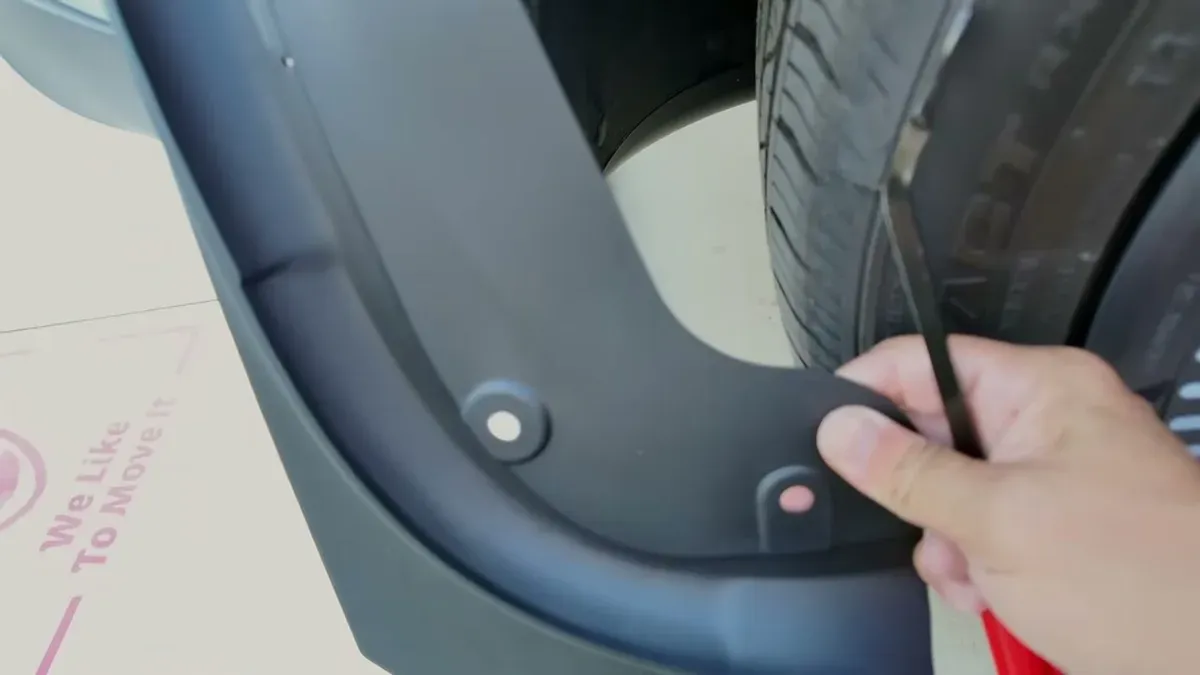
Mud Flaps
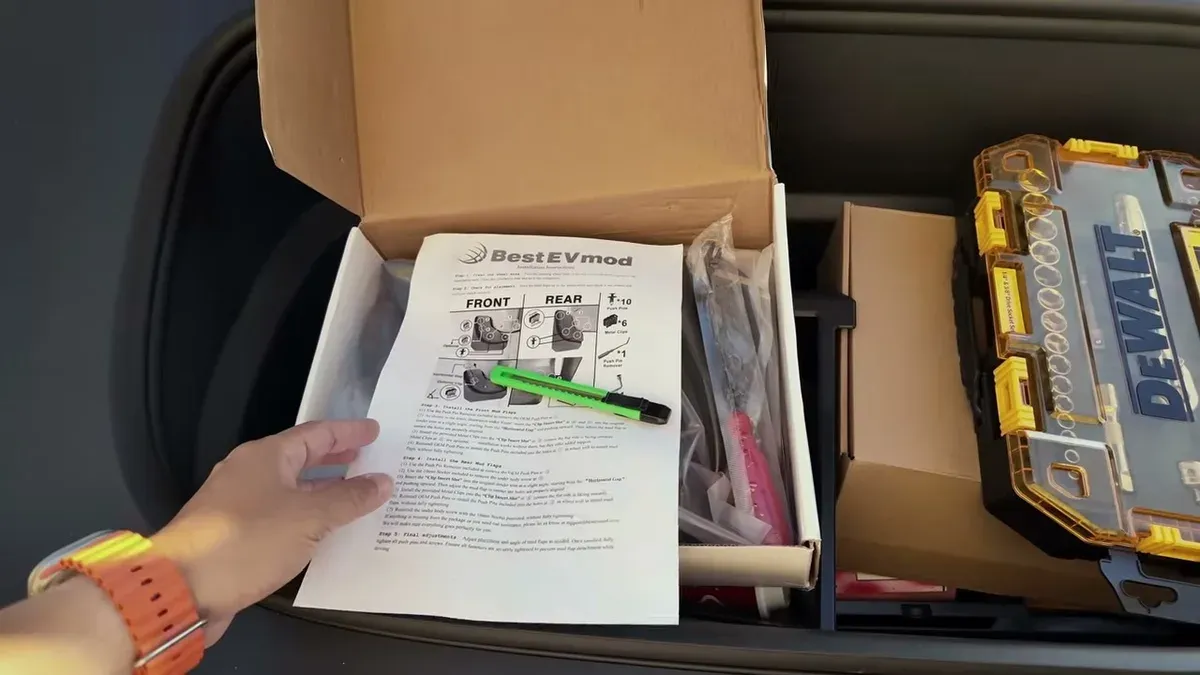
The mud flap kit includes instructions, fasteners, longer replacement push pins, a 10mm tool, and a metal pry tool. The pry tool is better quality than the generic plastic ones — worth actually using here since you’re removing factory push pins that can be snug.
Whether you need mud flaps depends on what you’re doing with the car. After a drive to San Diego in rain, water spray was visibly kicking up behind the front wheels and collecting on the rear panels. The mud flaps aren’t just styling — they do work. The previous Model Y Performance I had ran a similar design for about 35,000 miles without any issues.
Installation Tips
The fronts go on first. There are two push pins in the wheel well liner and a slot where you can insert the mud flap’s tabs before clipping it in. Turn the steering wheel toward you to open up the inner wheel well — you need the clearance to get a push pin into that far position.
BestEVMod includes longer push pins because the mud flap’s added thickness requires them. Keep the stock Tesla push pins in a Ziploc bag inside the kit box — they’ll be there if you ever want to go back to stock.
The rear flaps have two push pins, a clip up top, and a 10mm bolt underneath. Remove the bolt first before trying to seat the flap. Don’t lose the washer. For the far push pin that you can’t reach by hand, use the back of a hammer handle against the tire for leverage and push in — the rear wheels don’t turn, so you can’t open up the angle the way you can in front.
If the inner pin is at an awkward angle where neither the pry tool nor a flathead can catch it, try pushing it in from behind using the tire as a backstop. Same technique, different direction.
Fit Check

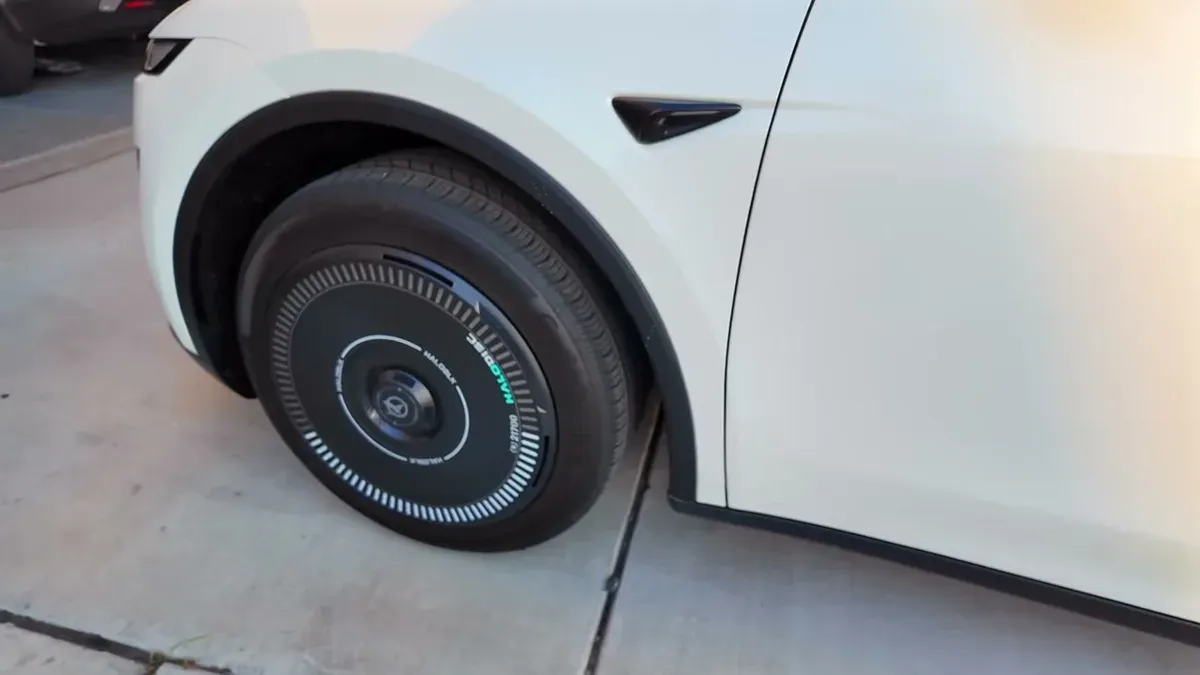
All four mud flaps are on securely. The fronts use two clips and two push pins each; the rears use two push pins, a clip, and the 10mm bolt. At the driveway incline, ground clearance isn’t an issue — these don’t scrape like longer mud flaps on a lowered Performance trim would.
Both the trunk sill protector and the mud flaps are easy DIY installs for a morning. Shop the full line at BestEVMod.
For more BestEVMod installs, I put their Cybertruck accessories through the same process.
Leave a comment
Comments are moderated, so it may take a bit before yours appears. Your email is never published.