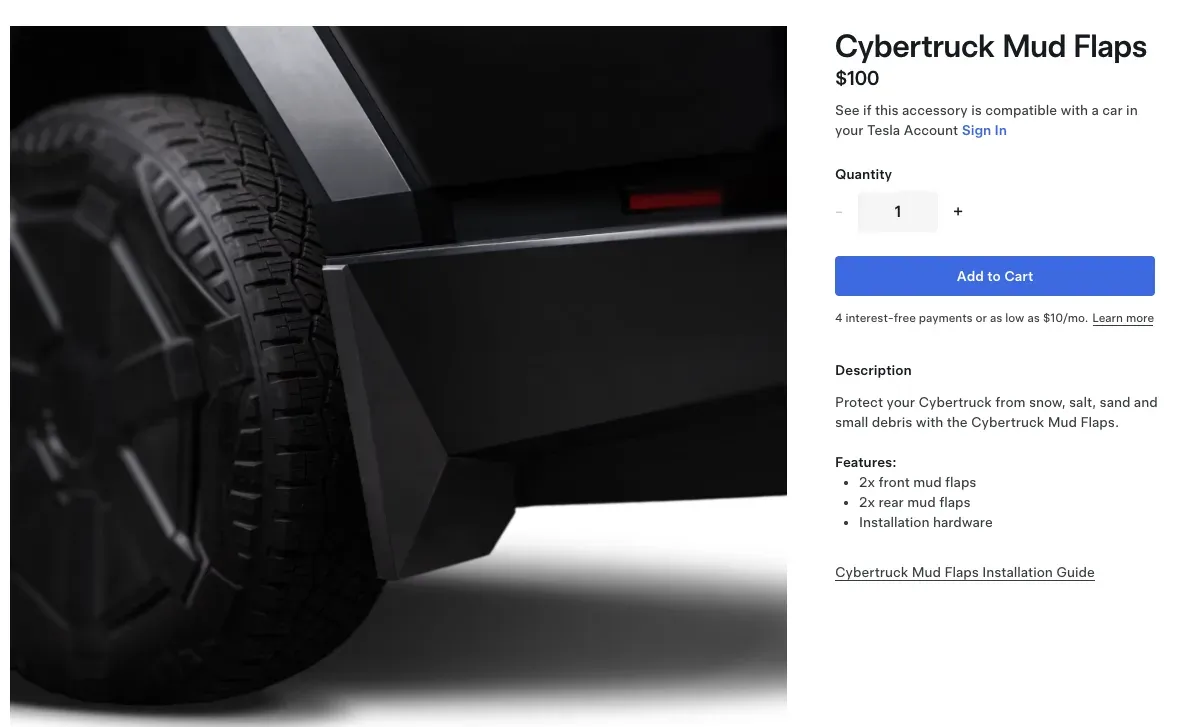
Mud flaps go on every car I own. It’s non-negotiable. So when Tesla finally dropped their own OEM Cybertruck mud flaps, I used my referral points to grab a set and see if the official version was worth it over aftermarket options. Short answer: they look great. The install is more involved than any mud flap I’ve done before, but totally doable.
What’s in the Box
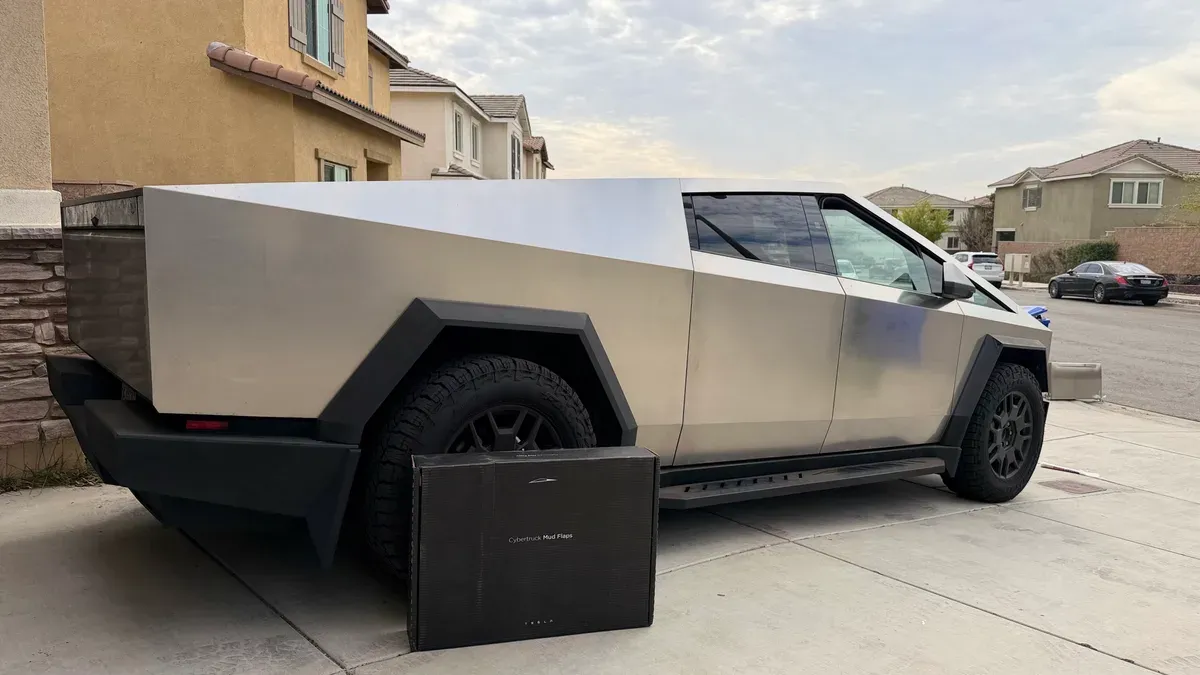
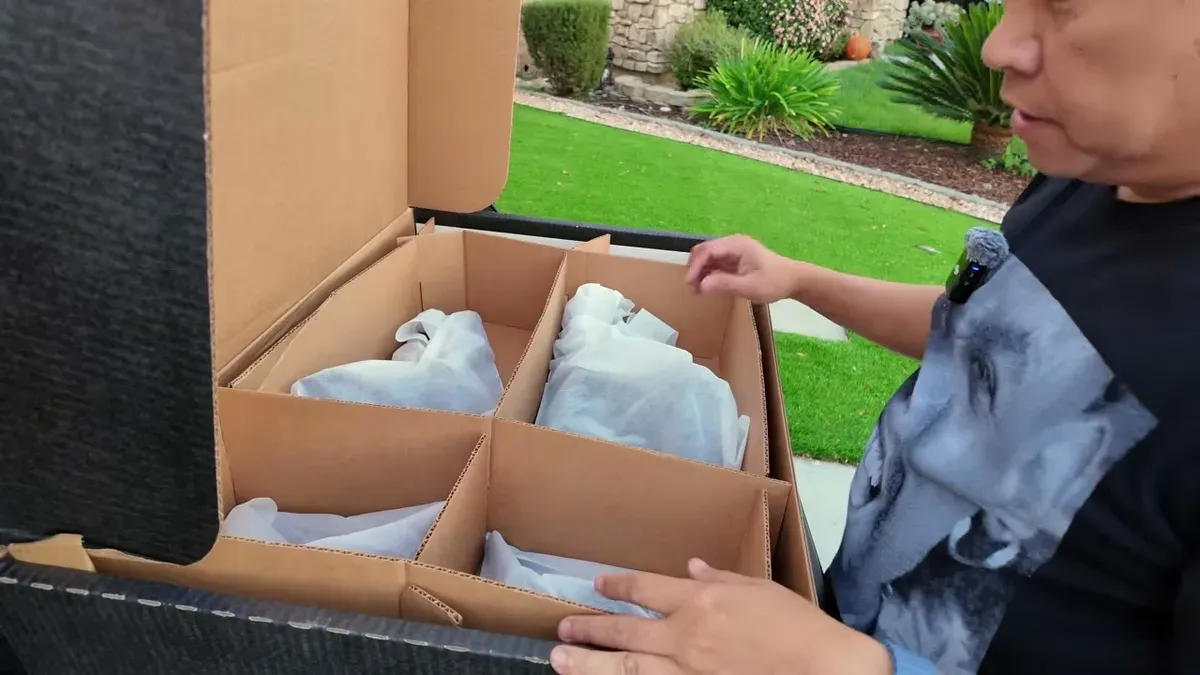
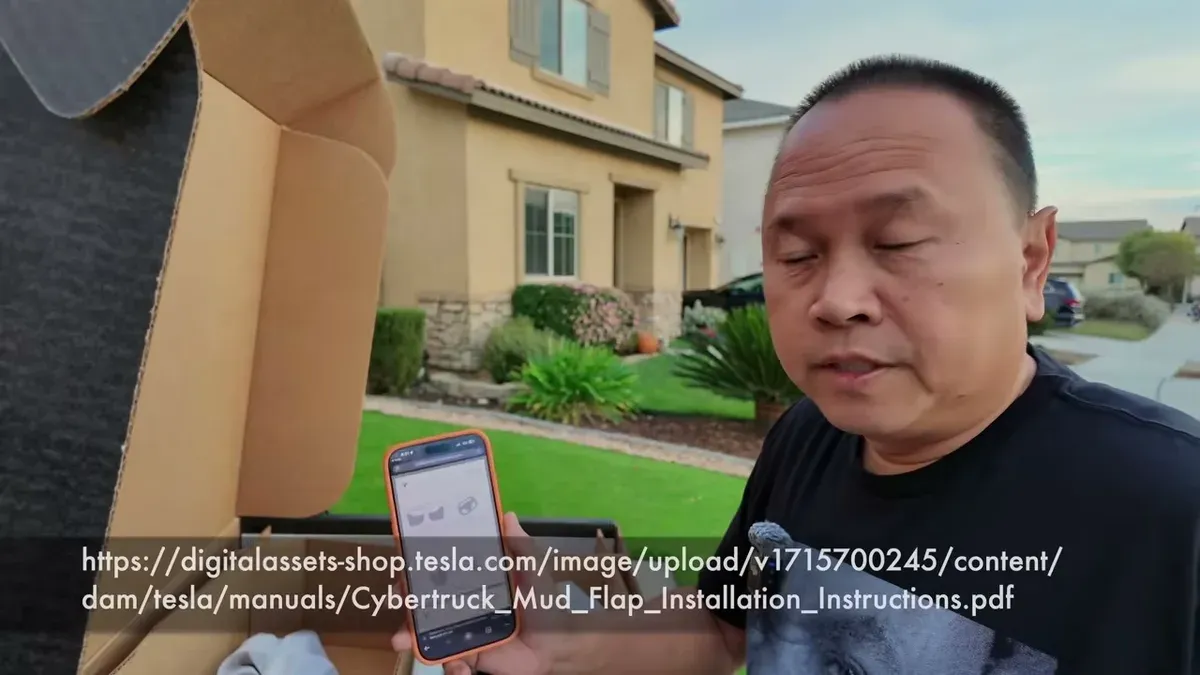
The box is surprisingly large for what’s inside — four mud flaps, two sizes (front and rear), a bag of fasteners, clips, and screws. The pieces themselves look essentially the same as quality aftermarket versions, except these have the Tesla logo. No printed manual included — Tesla keeps it digital. There’s a link on the product page that takes you to the installation PDF, which I’ll reference throughout this install.
Tools and Prep
You’ll need a T27 Torx and a 10mm socket for the rear. The instructions mention a pry tool, but the T27 handles what they’re describing. A flathead screwdriver helps pop the push pins.
Before you touch anything, do two things from inside the cab:
- Turn the steering wheel to full lock to expose the front clip area
- Raise the ride height from the Tesla app — there are bolts underneath and you want clearance

The ride height raise is genuinely satisfying. One tap in the app and the truck lifts itself in a few seconds. Worth doing even if you think you don’t need the extra clearance.
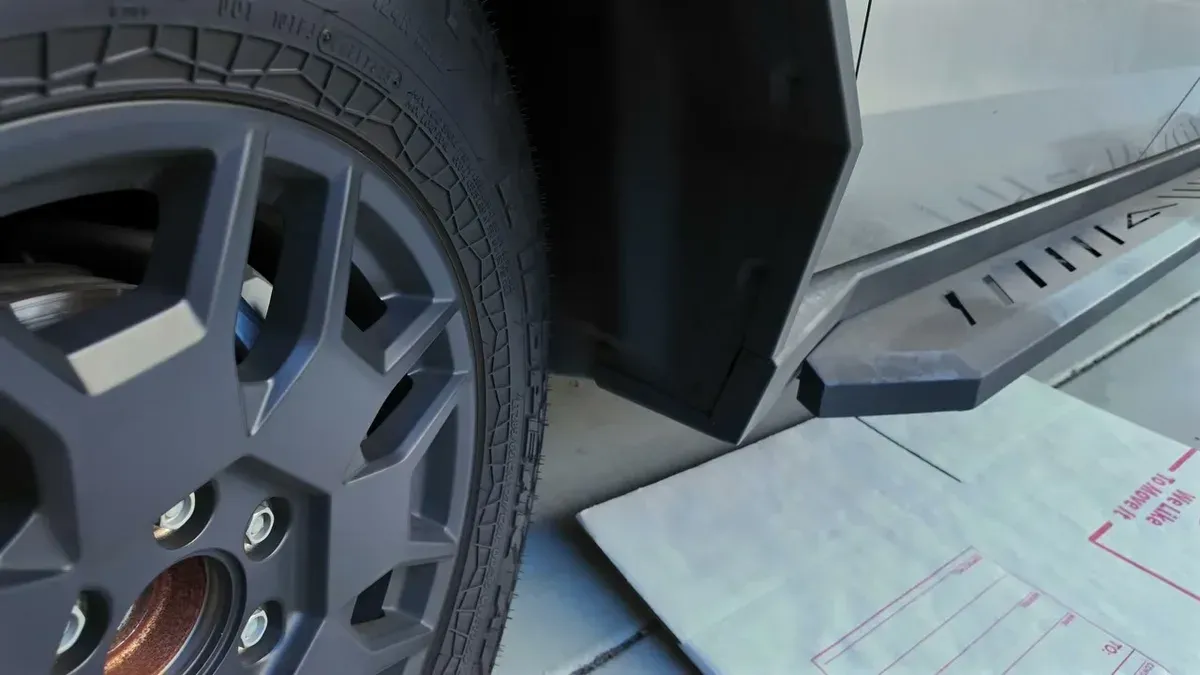
Front Installation
The front is the easier of the two. Two push pins hold the existing splash guard in place — pop those out with a flathead screwdriver. There are also two small holes that accept a T27 Torx screw.
One important detail: the new push pins that come with the mud flap kit are longer than the originals. Don’t reuse the old ones. The extra length accounts for the added thickness of the mud flap itself. Line everything up, run the T27 screws in, and reinstall the longer push pins. The front flap sits pretty solid once it’s in.
Rear Installation — The Tricky Part
The rear is where it gets more involved. Three fasteners to remove (two push pins and one screw), plus you need access to the wheel liner. Peel back the liner slightly to install the U-clips — these are little metal brackets that give the 10mm bolts something to thread into. Without them, the bolts just spin in the oversized hole with nothing to grab.
Getting those U-clips seated inside the liner is the fiddly part of this install. Once they’re in and the liner is back in place, the 10mm bolts go in clean and the flap locks down solid. Quick tip I learned the hard way: remove all the existing screws before mounting the flap, not after. I missed one on the first side and had to backtrack.
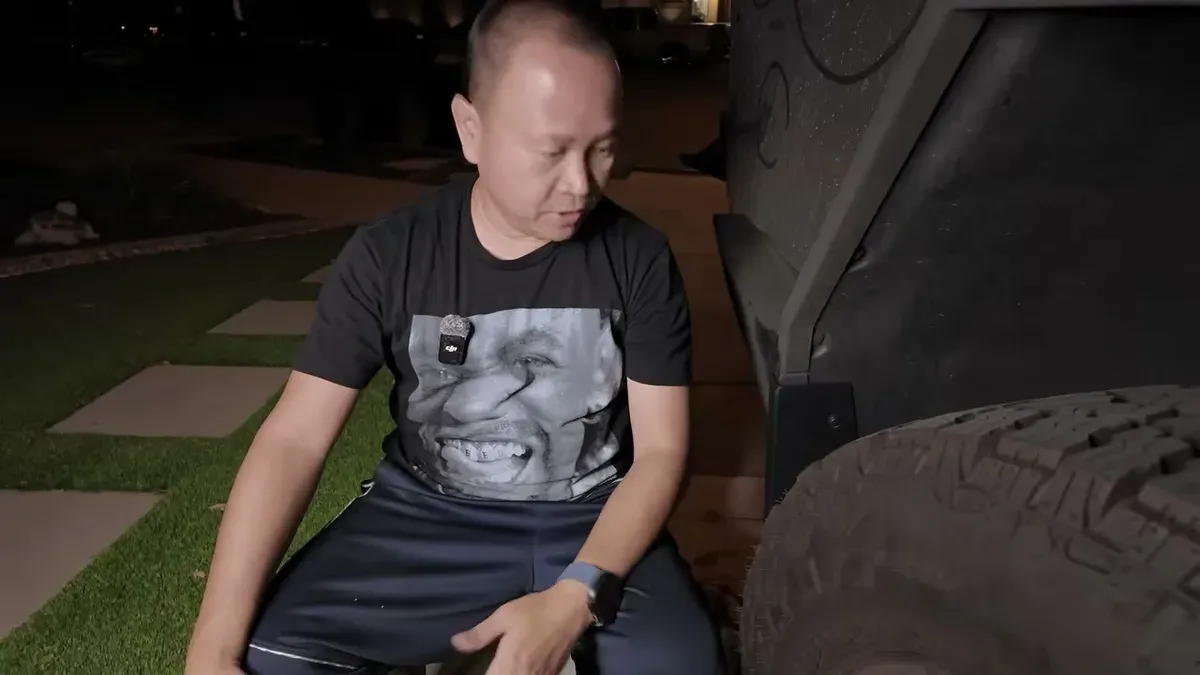
Both sides took me into the evening, but that’s partly because I was filming everything. Once you’ve done one side, the other goes much faster.
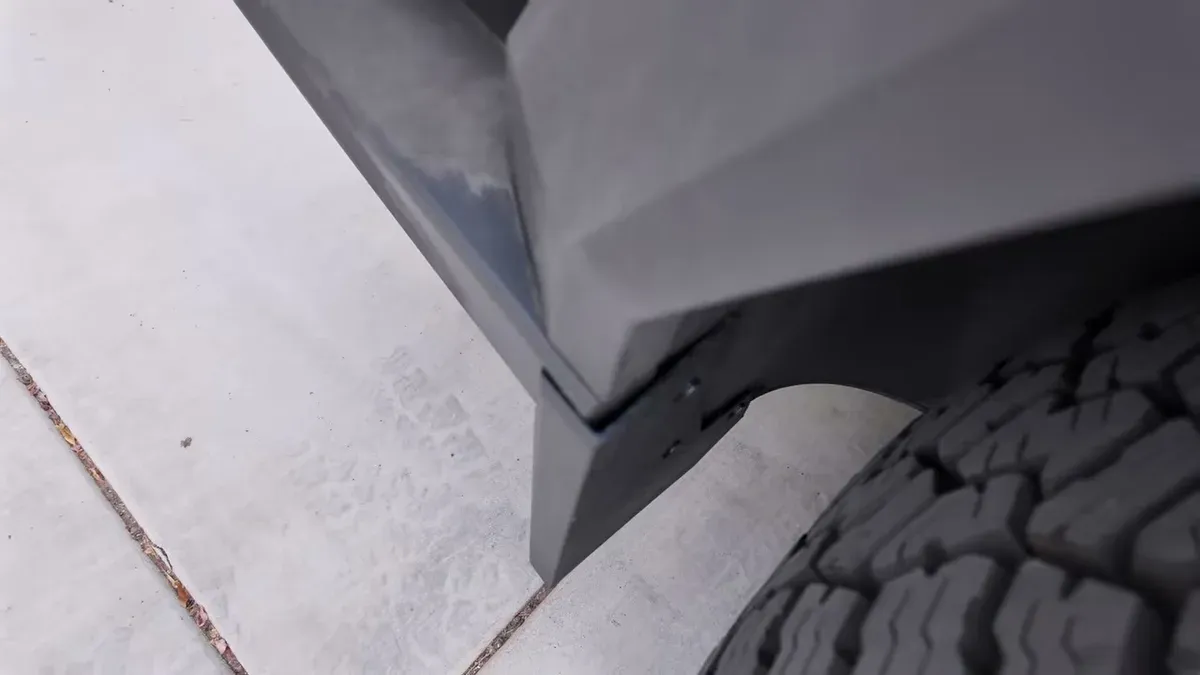
End Result
The finished look is clean. The mud flaps integrate well with the Cybertruck’s angular bodywork — they don’t look like an afterthought. Whether they’ll survive off-road runs is another question, and I’d probably pull them before anything serious on loose terrain.
We’ve got rain coming to SoCal soon, which almost never happens, so the flaps are going to get a real test earlier than expected. Functionally, the whole point is keeping debris and water off the exoskeleton — worth it for the protection alone even if you never see rain.
If you’re buying one of these, use the Tesla referral link — the referral offer changes periodically, but it’s usually free Supercharging miles or an FSD trial, and that’s how I picked these up in the first place. If you want to see how the Cybertruck holds up generally on accessories, the glass roof shade and accessories review covers a few other OEM add-ons worth considering.
For tool reference: T27 Torx, 10mm socket, flathead screwdriver for push pins. That’s the full kit. Tesla links the digital installation manual directly on the product page — pull it up before you start, but knowing about the U-clips and the longer replacement push pins beforehand will save you a second trip back through the liner.
Leave a comment
Comments are moderated, so it may take a bit before yours appears. Your email is never published.